| Knitting a CG Sweater |
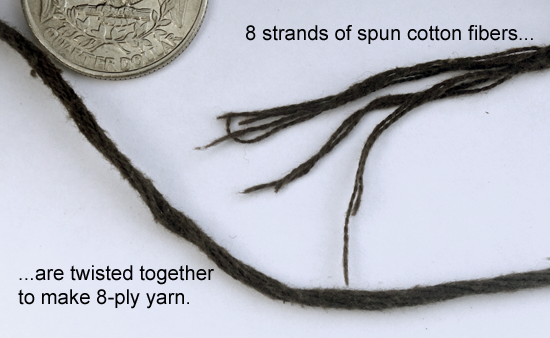
Knitting a CG SweaterModeling Yarn Let's begin with some basic knitting terminology, beginning with yarn itself. Spun yarn is made by twisting (spinning) fibers (cotton, wool, etc.) to form a single strand. Two or more of these single strands are then twisted together again to form the rope-like coils characteristic of a thick piece of yarn. A two-ply is thus a yarn plied from two strands, a six-ply is one from six strands, and so on. Below you can see an example of 8-ply cotton yarn.
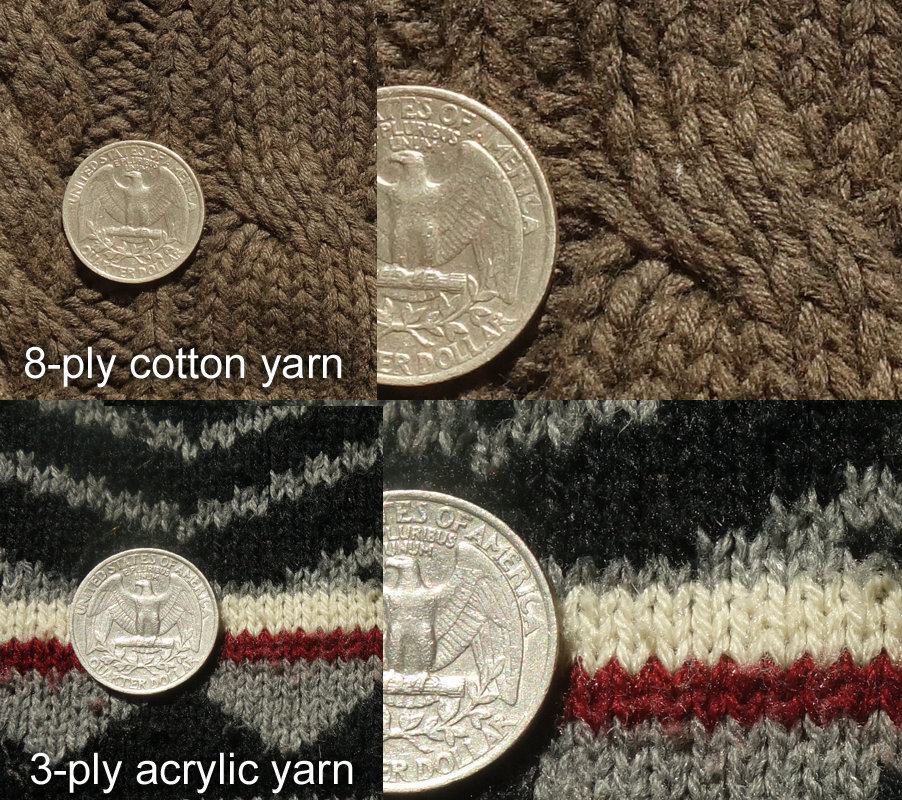
 In the image below we can see the brown yarn pictured above knit into a cable knit sweater. Below that we see a 3-ply acrylic yarn sweater. Note that this yarn is about half the size of the 8-ply yarn. In the close-up images of both the twisted plies of the yarn are visible.  We will therefore need to model the twists of our CG yarn. We will do this in a two step process. First we will render out rows of tubes with an orthographic camera, and use the zdepth pass of this to create a displacement map. We will then apply this "ply" displacement map to a poly tube to get the characteristic ply twists in our CG yarn, as pictured below.
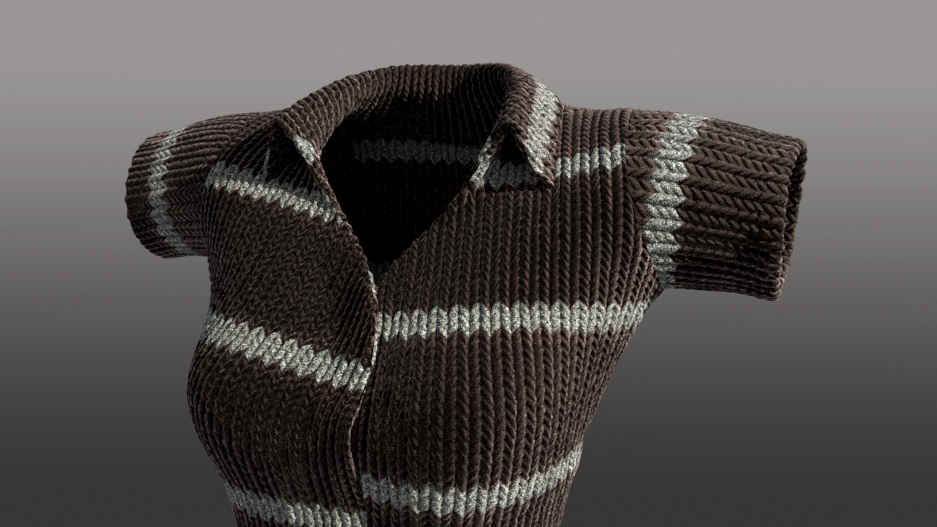
 Knitting CG Yarn Now that we have our CG yarn, we need to knit it together. The most common knitting stich is called a "stockinette" or "stocking" stich. Sometimes this is referred to simply as a "knit" stitch. If you flip this over, this is known as "reverse stockinette" or a "purl" stitch. Alternating between knit and purl stitches results a "ribbing" stitch.  As illustrated in the image below, to create this in CG we begin by creating a curve in the shape of a single knit loop (1). We then use Maya's MASH curve-warp function to make our polygon yarn tube bend into the shape of the curve (1). Multiple instance copies are then made of the polygon yarn tube geo, and positioned into columns (2). This gives us the characteristic knit V-shape "stockinette" stitch. Because of the construction history on the instanced geometry, when the single curve is edited, this changes all of the instanced geometry loops, making it easy to edit the curve into the ideal shape. We then render several passes: zdepth, occlusion, normal, and RGB mattes using an orthographic camera. Below you can see a closeup of the depth pass (3).  These render passes are then made to tile seamlessly in Nuke (the offset gizmo from Nukapedia is helpful here), and used as texture maps: zdepth for the displacement map, normal for normal map, alpha for opacity, mattes and occlusion to create the yarn color pattern for the diffuse map, and so on. Below you can see the result applied to a simple model.  Vray render with displacement map knit yarn
|
