| Look Dev for Animators |
Color Concept Art
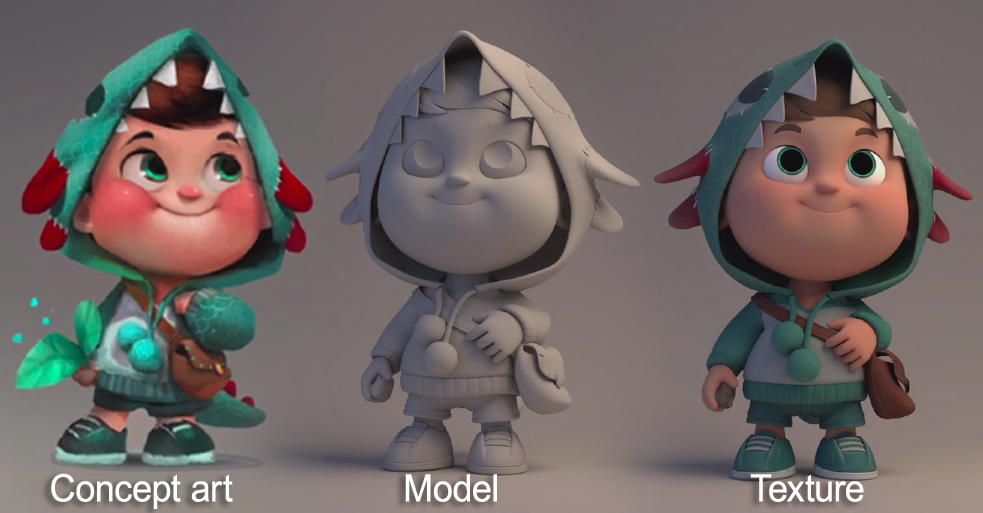
Image credit: Ember Labs (Click image to enlarge) The next step is to turn that concept art into a model. The model should follow the concept art (as the above example shows). Regardless of the look you want to achieve, a quality model is essential. You need a nice model to get a nice look, just like you need quality ingredients to cook a quality meal.
Render Looks
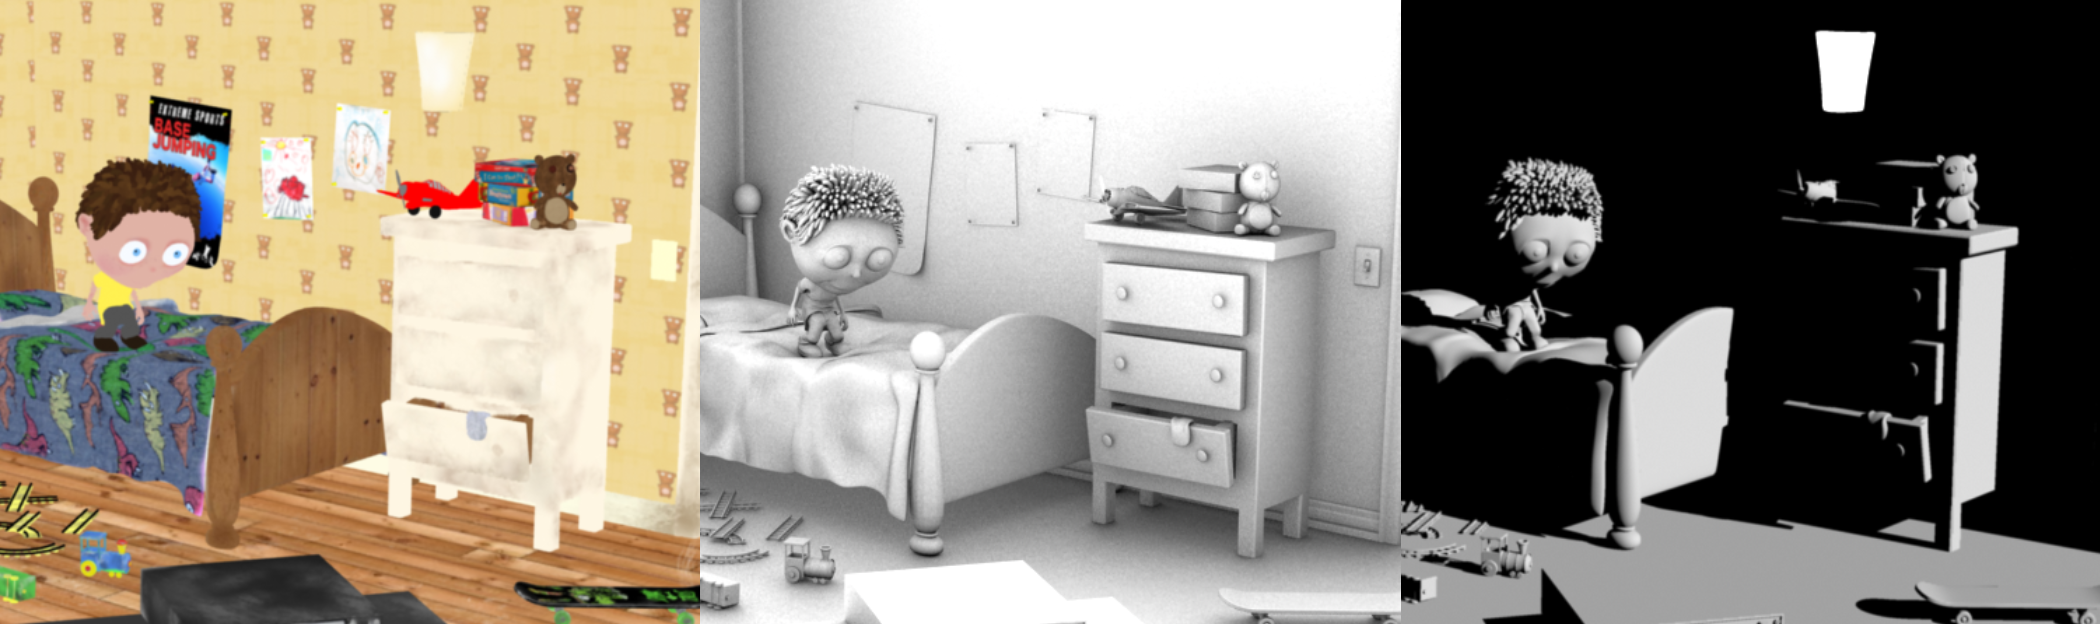
If you want to go all out, you can go for the look you see in feature animation films by Pixar, Sony, Disney and others. This means all the bells and whistles: hair, sss, cloth sim, HDR. Here's an example of that look from SHED, including a side-by-side comparison with the animatic (top left), layout (top right), animation playblast (bottom left), and final render (bottom right):
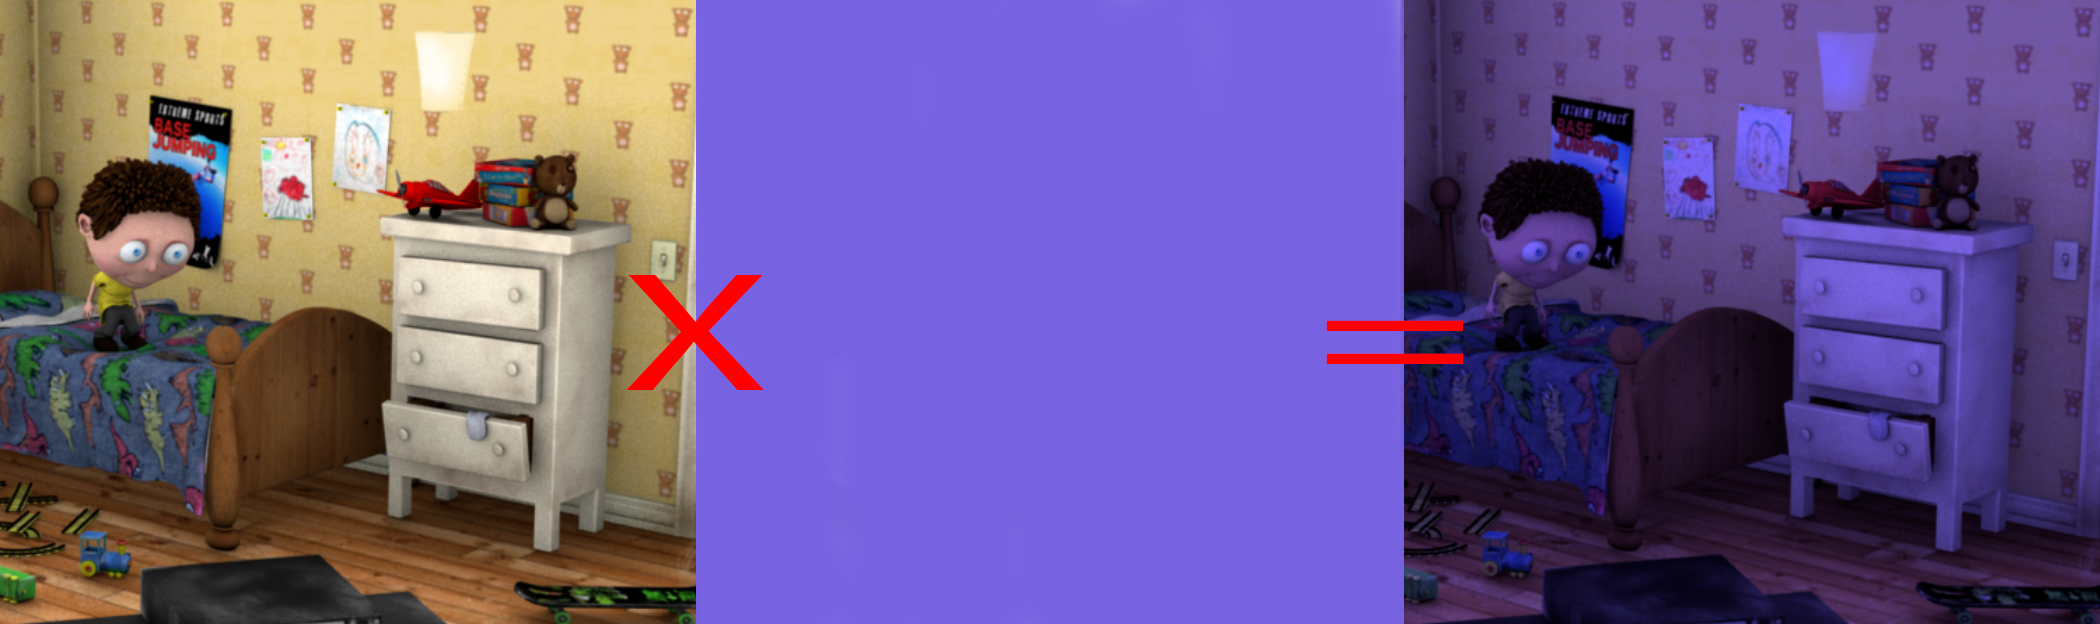
Beautiful but hard. You'll need a team of lighters for this. Beware of the "cartoon look"! Let's assume you want to do a simple look so you can focus on animation. A common mistake students often make is assuming that a hand-drawn cartoon look is simple. When working in 3D, a hand drawn 2D cartoon look is not easier to do, it is much much harder. This is because it means you are asking the software to do something it was not designed to do (looking like a two dimensional drawing). On top of this it requires that you can do hand drawings and paintings. If that's your thing, great. But if you are trying to do something simple this is the opposite of simple. So if your goal is to try to keep things simple, this is not the way to go. A classic example of this style is the animation short Meet Buck:
Looks simple, but this look takes a LOT of time. Animated TV Series Look So how can you get a simple look? A good approach is adopt the approach used on animated TV shows. In a nutshell this involves combining flat colors with ambient occlusion. This can then be augmented by a colored light and shadow (for example yellow sun light and sky blue shadows). If that's too technical, don't worry. You'll learn about this technique in the class Fundamentals of Texture & Light. The main thing to get is what it looks like. You've seen this look in tons of animated television series. They use it because they have a tight turnaround time. Here's an example of it from the TV series The Garfield Show:
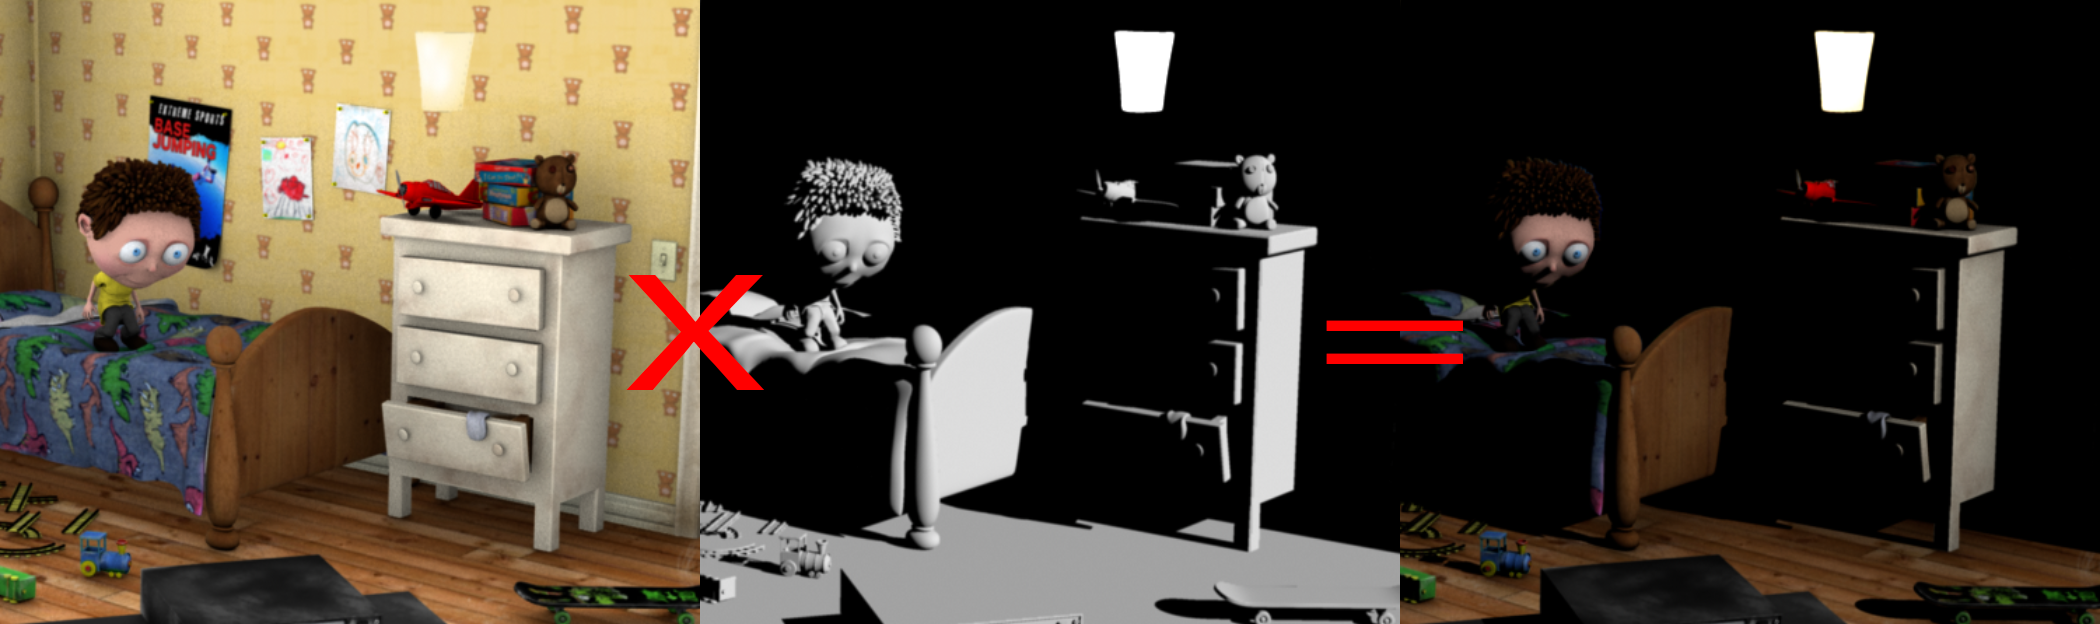
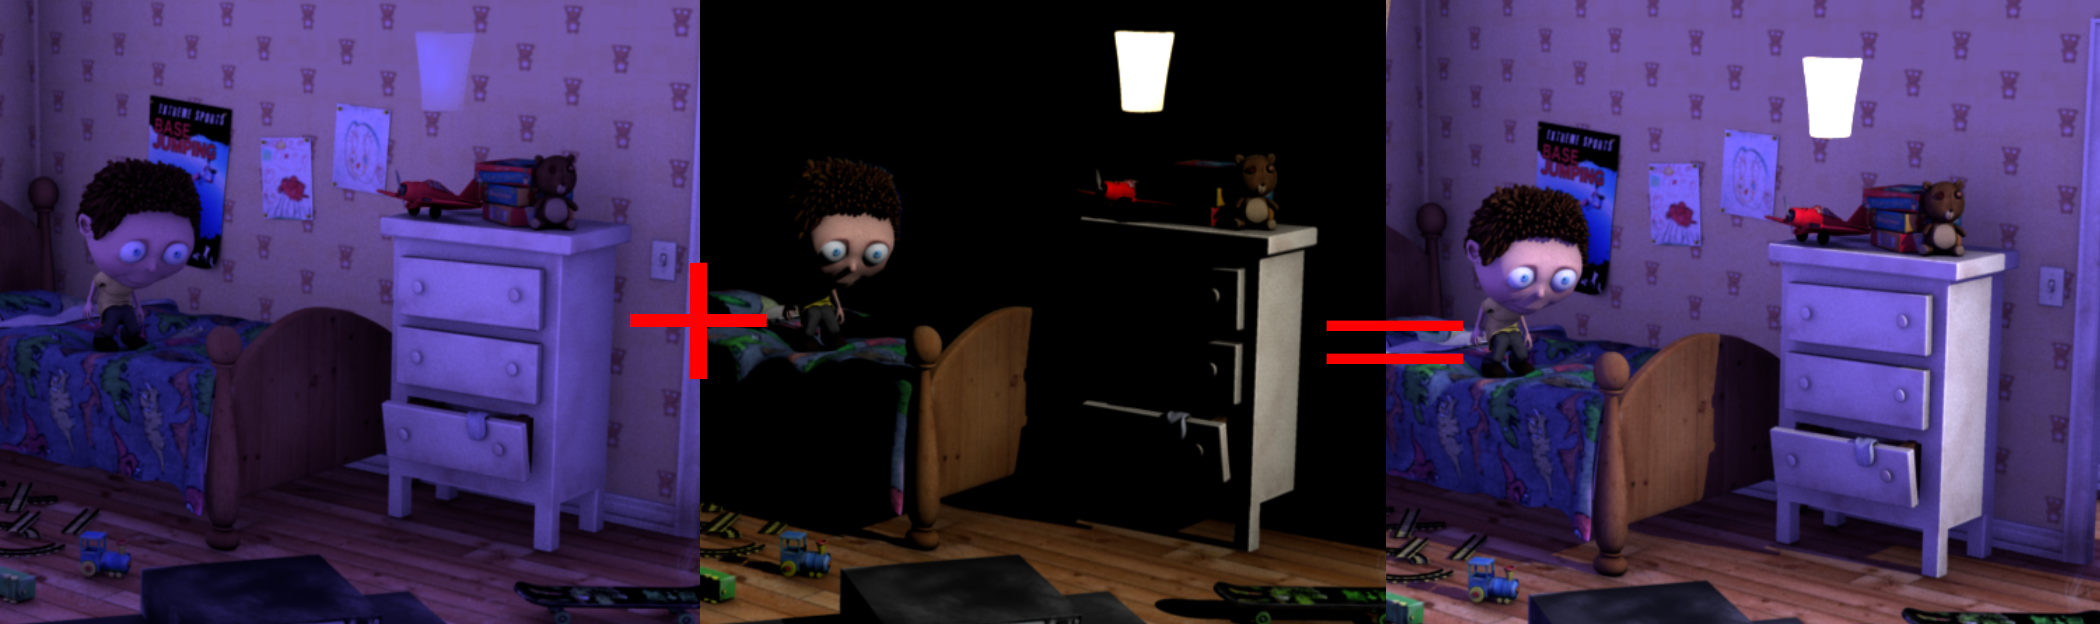
Setting up the Animated TV Series Look The "Animated TV Series Look" look is done by assembling the lights in the comp. That means instead of doing the lights in Maya where we need to wait for a render, we instead make them in comp which we can tweak in real-time. For this setup you will need three things: A flat texture pass, ambient occlusion, and a raw light pass, as seen here:
Ambient Occlusion I'll assume you know how to make an occlusion pass. Raw light A simple way to make the raw light is to create a render layer with a white shader assigned to everything, which is then lit by a single light. This is the equivalent of a "raw light" pass in Vray. With these three passes we are ready to built out lights in comp. 1. First we multiply the textures with occlusion:

|